Selecting the Right Stain for Restoring Antique Wood

Chosen theme: Selecting the Right Stain for Restoring Antique Wood. Welcome, restorers and storytellers of timber! Today we explore how to honor history with color, choosing stains that deepen grain, preserve patina, and let cherished pieces glow again. Join the conversation, ask questions, and subscribe for hands-on wisdom each week.

Finish History Matters: Respecting Original Patina

A quick solvent test guides compatibility. Alcohol softens shellac, while lacquer thinner bites lacquer. Oil varnish resists both. If color must change, consider a dewaxed shellac barrier between old finish and stain layers. Knowing the substrate avoids adhesion failures and saves irreplaceable historical texture from harsh stripping.

Finish History Matters: Respecting Original Patina

Often, color problems are really dirt, smoke, or wax. Start with mild soap and water, then mineral spirits to lift grime, always testing discreetly. A gentle clean can brighten tones and reveal original depth. Only after cleaning should you decide whether staining is truly necessary for respectful restoration.

Choose the Right Stain Type for Antique Restoration

01

Oil-based stains: depth and working time

Oil-based stains offer generous open time, letting pigment settle into grain for rich contrast. They level beautifully on oak but can overpower subtle woods when overworked. Allow proper drying, and dispose of oily rags safely to prevent spontaneous combustion. Seal with dewaxed shellac if layering different finish systems.
02

Water-based stains: clarity and low odor

Water-based stains deliver clean color, low VOCs, and quick recoat times. They raise grain, so pre-wet, sand lightly, and consider a careful water pop to intensify depth. Their clarity suits fine-grained walnut and mahogany. Use distilled water for consistency, and test for color shift under warm evening lighting.
03

Gel stains and dyes: control for tricky woods

Gel stains excel on blotch-prone cherry and pine, sitting near the surface for even tone. Dyes penetrate deeply, showcasing figure without clouding pores. Many restorers layer dye for luminosity, then a light gel glaze for historical warmth. This control helps blend repairs invisibly into surrounding original color.

Color Building: Layering Techniques That Respect History

A thin shellac washcoat—often a one-pound cut—acts as a gentle gatekeeper, evening absorption on cherry and softwoods. Commercial pre-stain conditioners can help too, though timing is critical. The goal is predictability, preserving figure while avoiding splotches. Keep layers light so grain still speaks clearly through color.

Color Building: Layering Techniques That Respect History

Many restorers begin with a diluted dye to set an undertone, then add a pigmented stain to emphasize pores. This two-step approach produces antique-like dimensionality. On mission oak, for instance, a warm dye yields glow, while a brown pigment anchors rays. Record formulas to recreate success consistently.

Application Mastery: Tools, Timing, and Environment

Rags, pads, and brushes

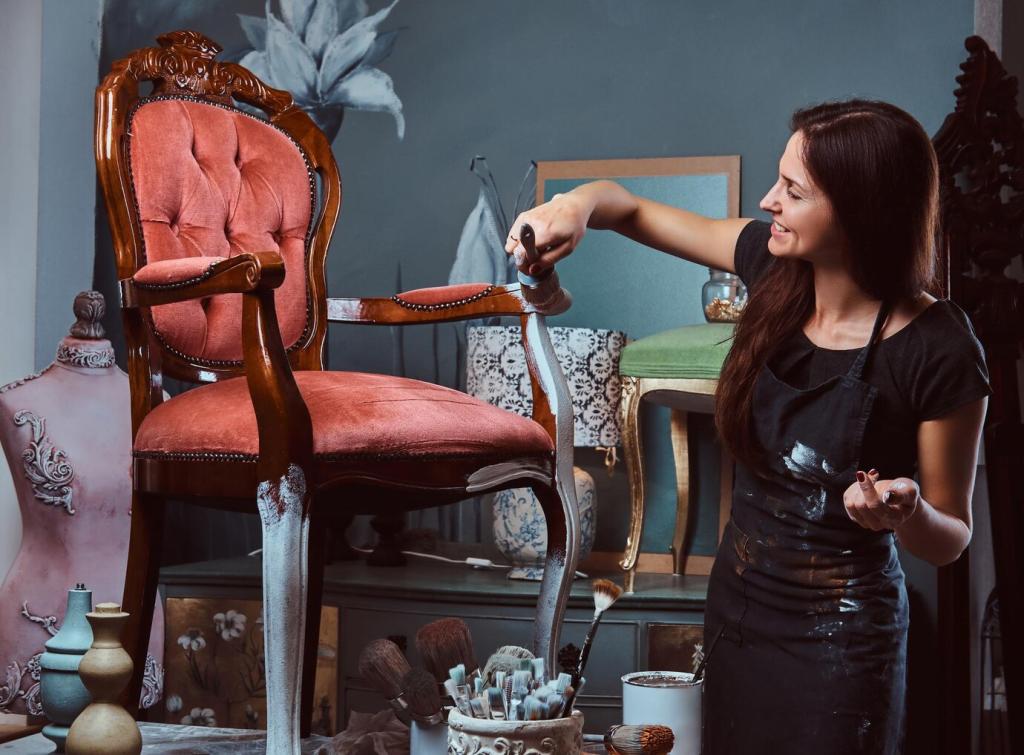
Use lint-free cotton rags for wiping, a firm pad for even pressure, and natural bristle brushes for oil stains. Work with the grain, flood judiciously, and keep edges wet to avoid lap marks. Practice on scrap, especially around carvings where pigment can collect and telegraph heavy-handed application.

Dwell time, wipe-off, and open time

Longer dwell deepens color but risks uneven saturation. Set a timer, stain panels in sequence, and wipe consistently to maintain balance. Temperature and humidity change open time dramatically. A cool shop slows absorption; a warm one speeds it. Adjust your rhythm so every section receives equal attention.

Light matters: judge color where it will live

Evaluate samples in daylight, warm incandescent, and evening ambient light to catch metamerism. An oak buffet that looks perfect at noon may skew red at night. Carry boards to the room where the piece will live, then adjust stain warmth so it sings under real, everyday illumination.

Safety, Sustainability, and Next Steps

Ventilate well, wear gloves, and use appropriate respirators for solvents or dyes. Lay oily rags flat to dry outdoors or seal in a metal container to prevent fires. Label mix jars clearly. Patience with curing times protects color integrity and keeps cherished furniture safe for decades to come.

Safety, Sustainability, and Next Steps

Consider low-VOC water-based stains, plant-derived dyes, and dewaxed shellac cut with ethanol. These choices reduce odor and environmental impact while preserving period-correct aesthetics. Source sustainably harvested touch-up veneers, and reuse glass jars for mixes. Thoughtful material choices extend stewardship beyond the single piece you restore.
Indoadvertising
Privacy Overview

This website uses cookies so that we can provide you with the best user experience possible. Cookie information is stored in your browser and performs functions such as recognising you when you return to our website and helping our team to understand which sections of the website you find most interesting and useful.