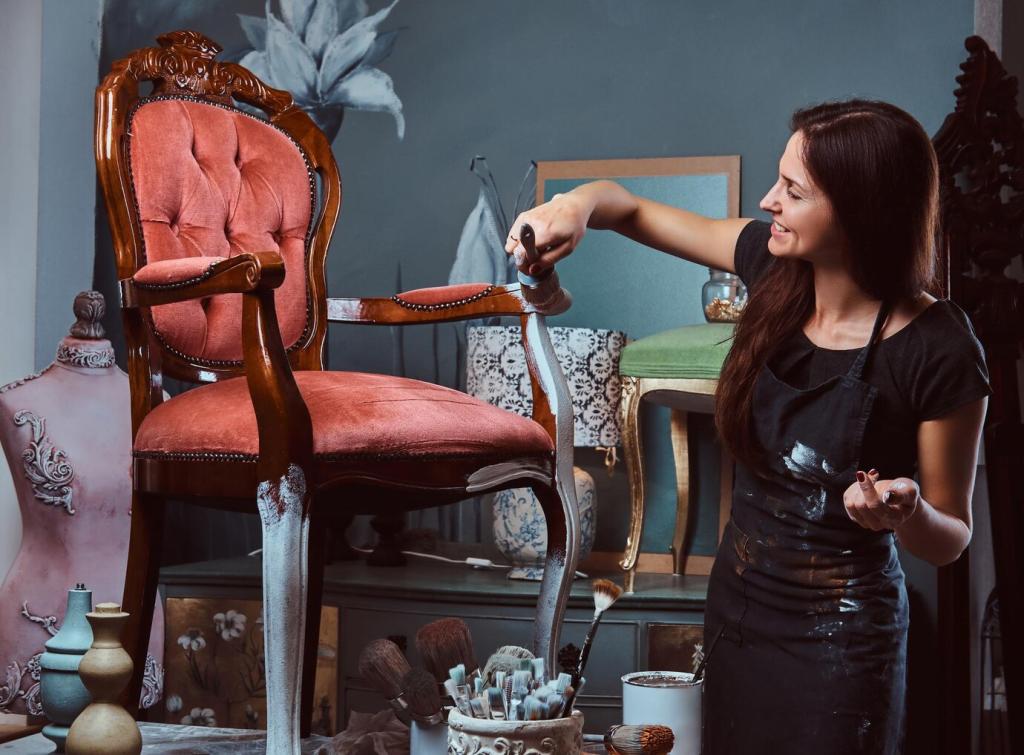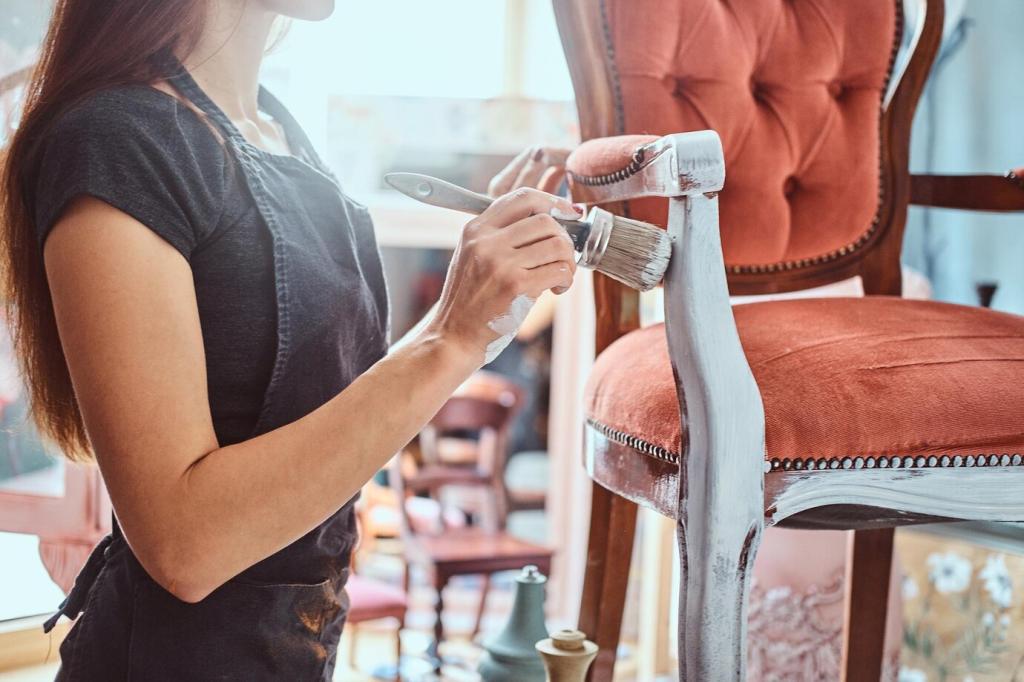
Cleaning With Respect: Preparing Surfaces Without Losing Patina
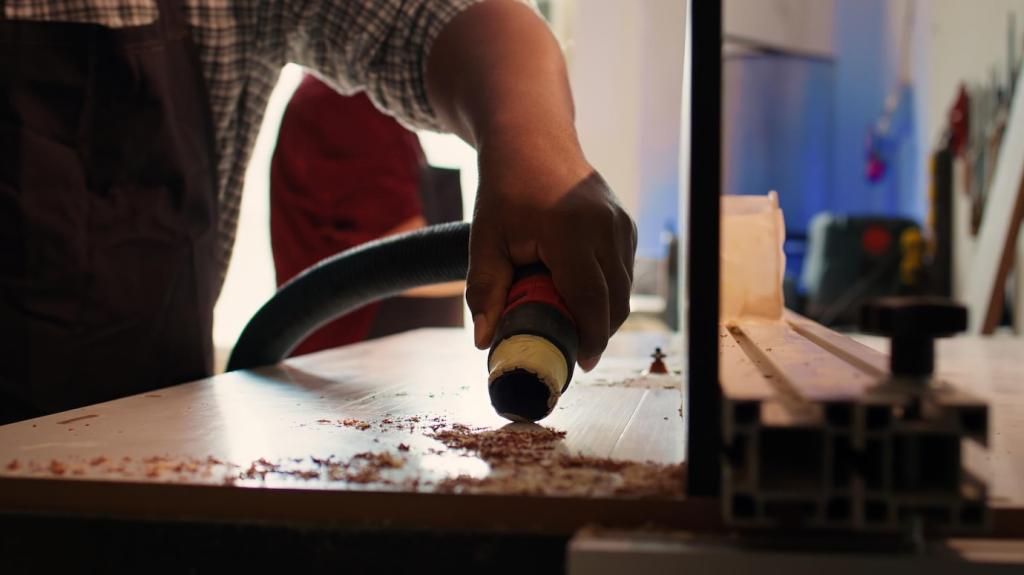
Start with a soft brush and low-suction vacuum to lift dust from carvings. Use microfiber cloths and cotton swabs for crevices. Only then consider a mild soap solution, always testing discreetly to protect delicate finishes.
Cleaning With Respect: Preparing Surfaces Without Losing Patina
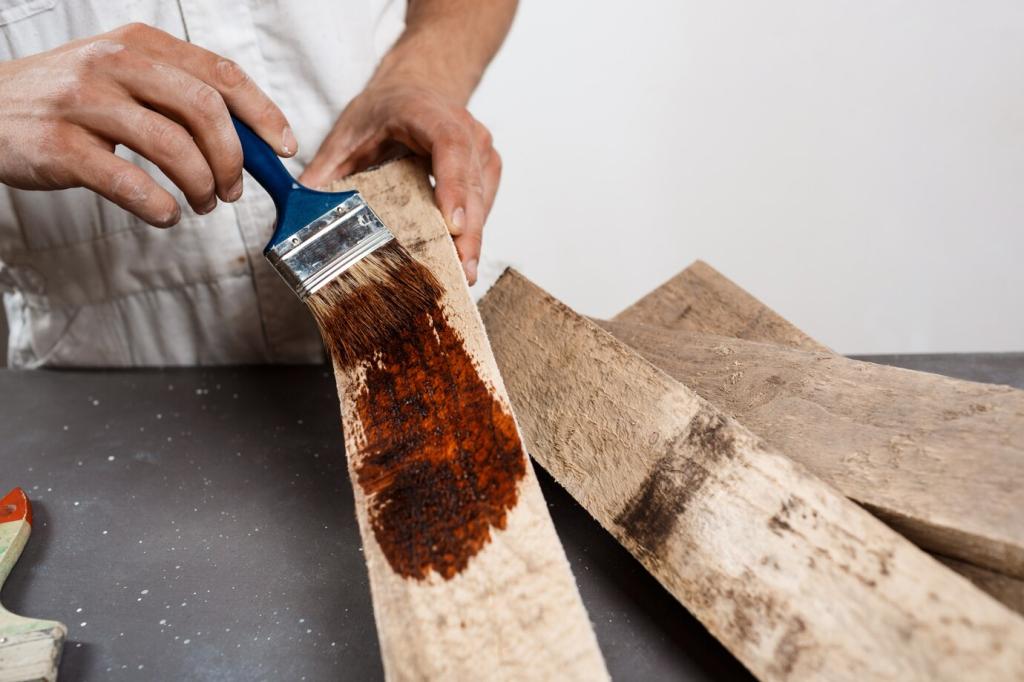
Mineral spirits and 0000 steel wool float old wax without gouging. Work in the grain direction and wipe dry immediately. Around shellac, use lighter pressure, small swabs, and frequent tests to prevent dissolving historical finish layers.
Cleaning With Respect: Preparing Surfaces Without Losing Patina
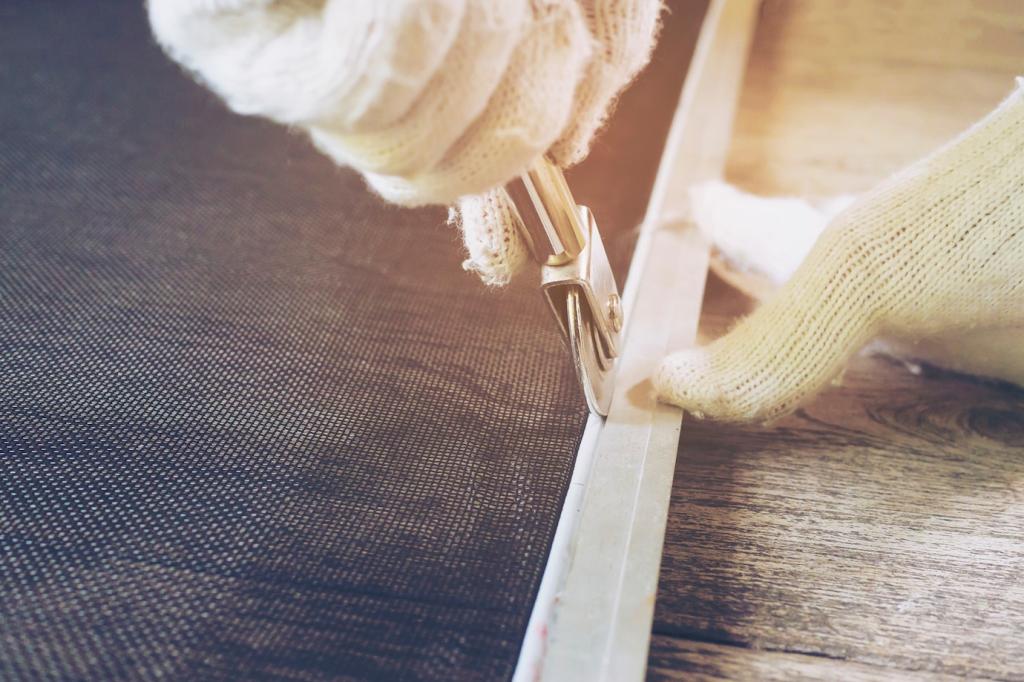
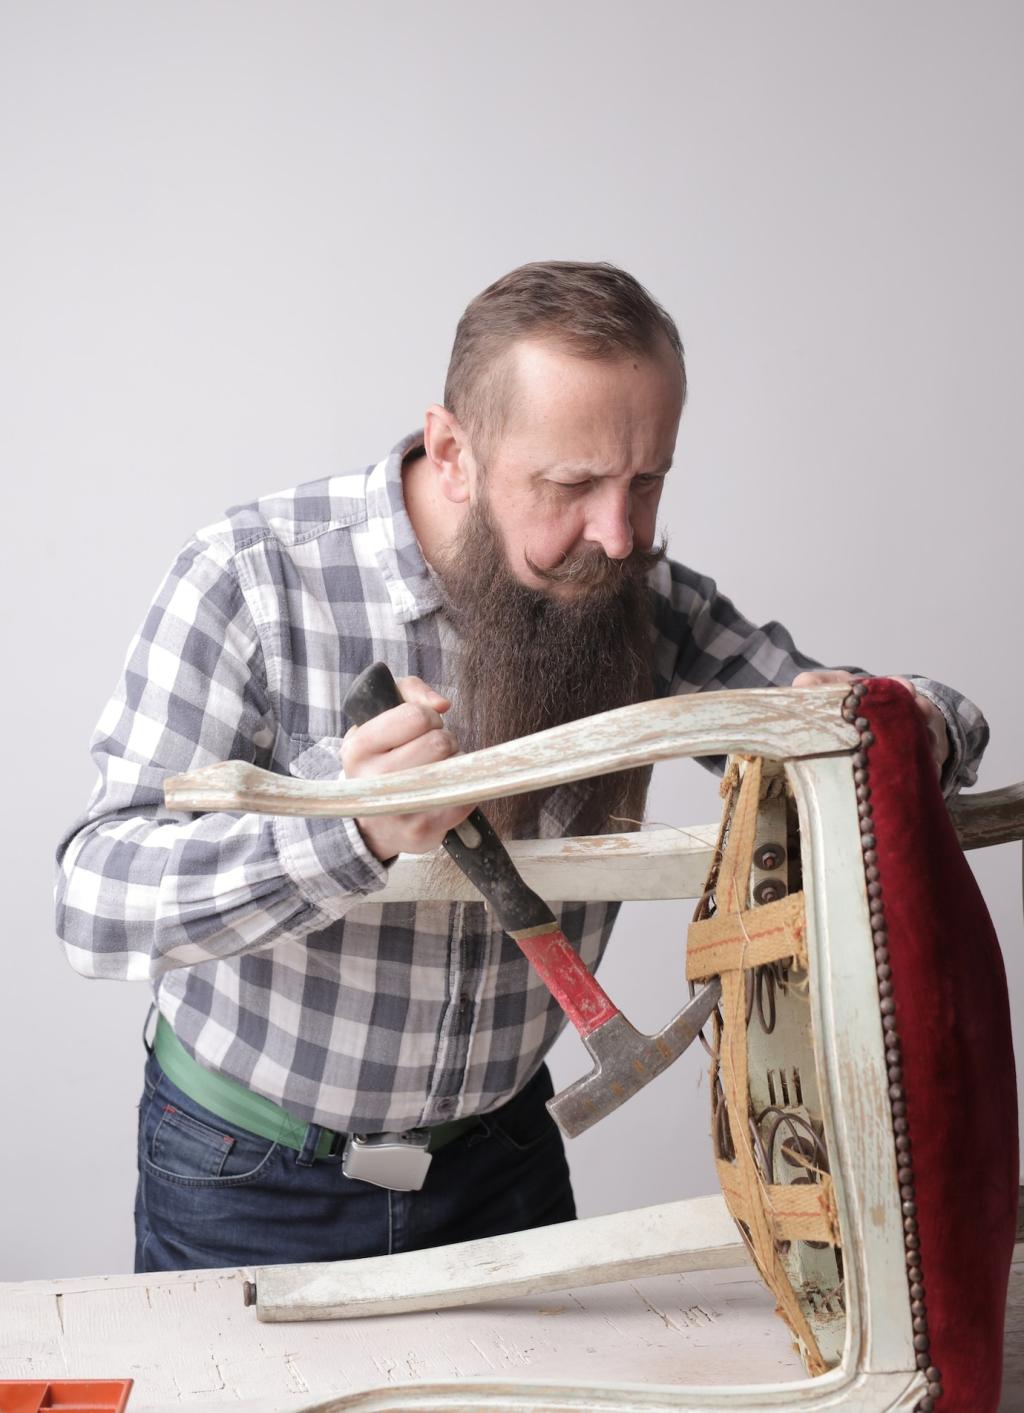
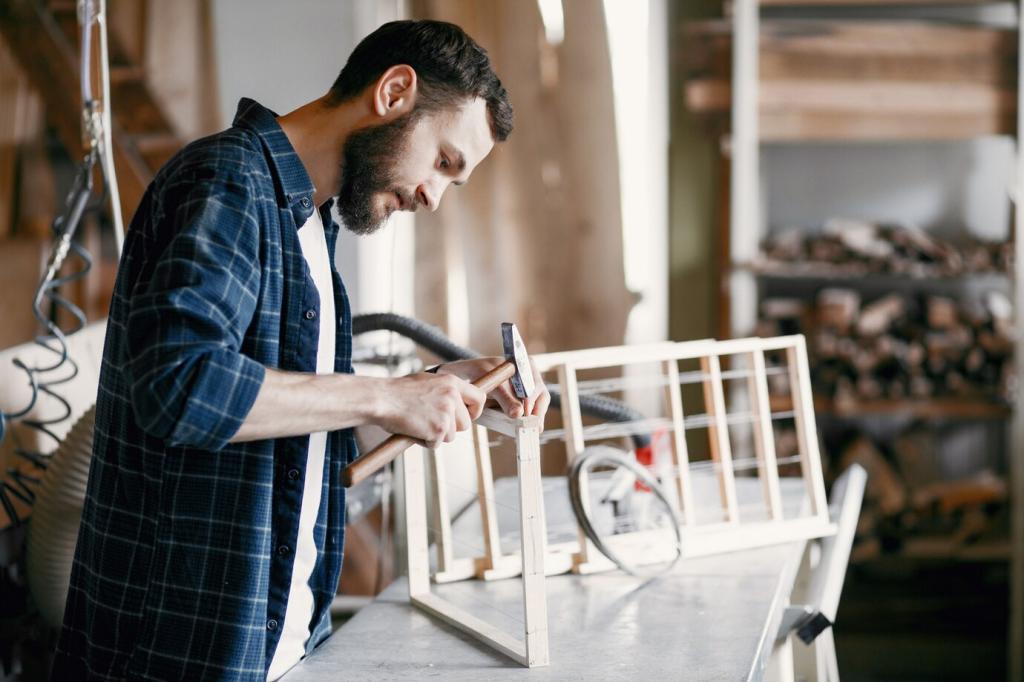
A tuned card scraper lifts oxidized finish while preserving crisp edges and honest wear. Avoid rounding profiles with aggressive sanding. Share a photo of your scraper burr; we will help troubleshoot chatter and burnishing techniques.