Avoiding Common Mistakes in Vintage Furniture Restoration
Chosen theme: Common Mistakes to Avoid in Vintage Furniture Restoration. Bring back the soul of timeworn pieces without erasing their history. Together we will protect patina, preserve value, and restore function with care. If this resonates, subscribe and share the pieces on your bench today.
Knowing Your Material: Wood Species, Veneer, and Old Finishes
Veneer vs. Solid: The Fingernail and Edge Tests
A common mistake is sanding through veneer because it is mistaken for solid wood. Inspect edges for repeating grain at seams, use a raking light, and feel thickness with a gentle fingernail catch. When in doubt, sand by hand and stop early. Share photos if you are uncertain.
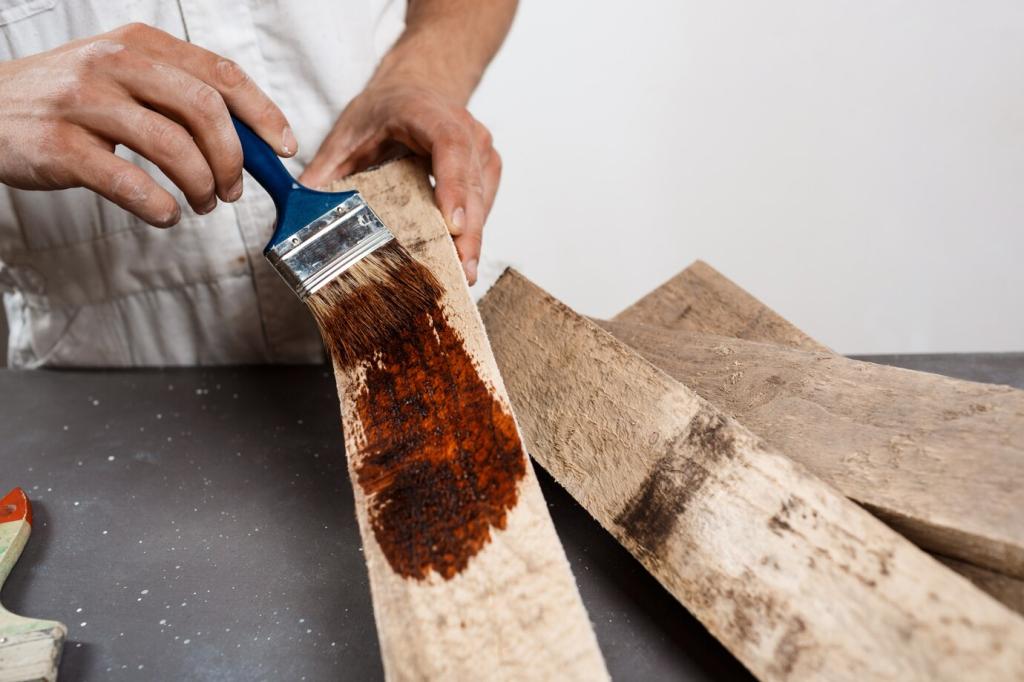
Finish Forensics: Alcohol, Mineral Spirits, and Patina Clues
Rushing to strip everything is unnecessary. Test discreetly: shellac softens with alcohol, lacquer responds to lacquer thinner, oil or varnish usually does not. Mineral spirits reveal grain and color without raising it. Respect cloudy patina; sometimes cleaning and blending beats total removal.
Grain Lies and Stain Dyes: When the Color Misleads You
Dark stains can disguise soft maple as walnut or hide mismatched repairs. Learn pore patterns: ring-porous oak telegraphs strong rays, while cherry shows subtle gum pockets. Do not match stain to color alone—match to species behavior. Tell us your best species sleuthing story.
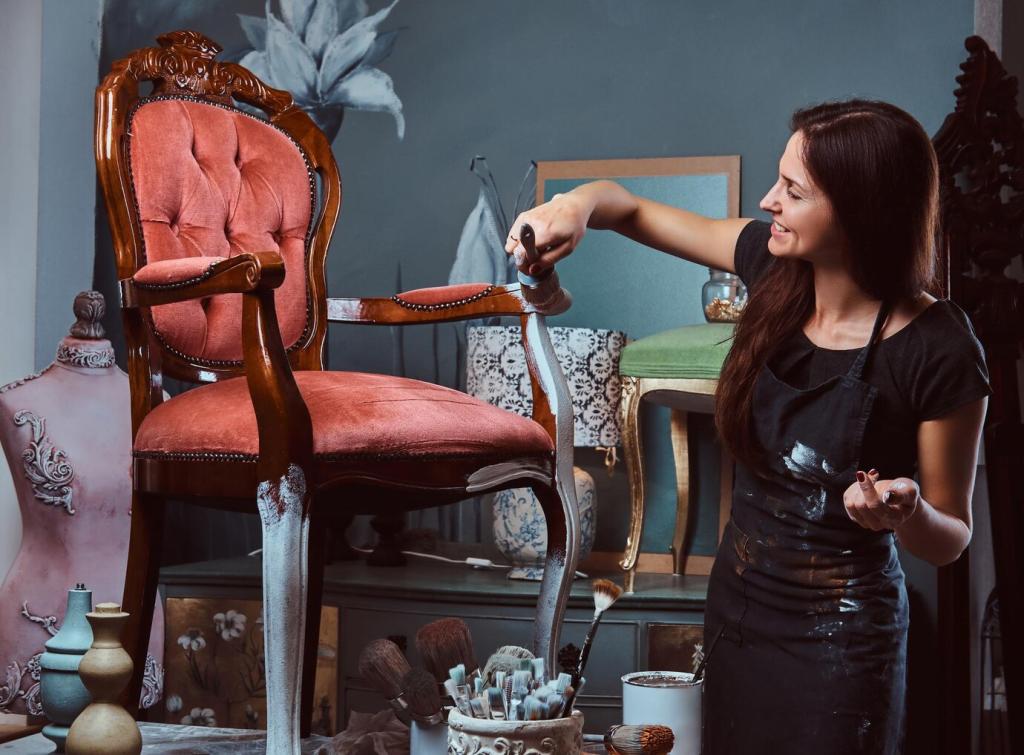
The Over-Sanding Trap: Erasing History Instead of Damage
Use a Light Touch and a Flat Block
Random orbit sanders can dish soft earlywood and flatten proud details. A rigid sanding block keeps surfaces true. Start finer than you think, vacuum often, and stop as soon as defects are softened, not erased. Comment with your favorite grit progression for fragile tops.
Respect Edge Profiles and Veneer Thickness
Edges and cock-beading vanish fast. Typical vintage veneer is roughly 0.6 millimeters; some is thinner. Tape off edges, use worn paper near borders, and switch to card scrapers for control. When you reach glue line ghosts, stop. Your future self will thank you.
Anecdote: The Dresser With Ghost Handles
A reader sanded a 1930s walnut dresser until the dark circles from old pulls nearly disappeared—and so did the molded edge. After a light dye and toner, the shadows blended beautifully. Lesson: blend defects; do not erase history. What is your biggest sanding regret?
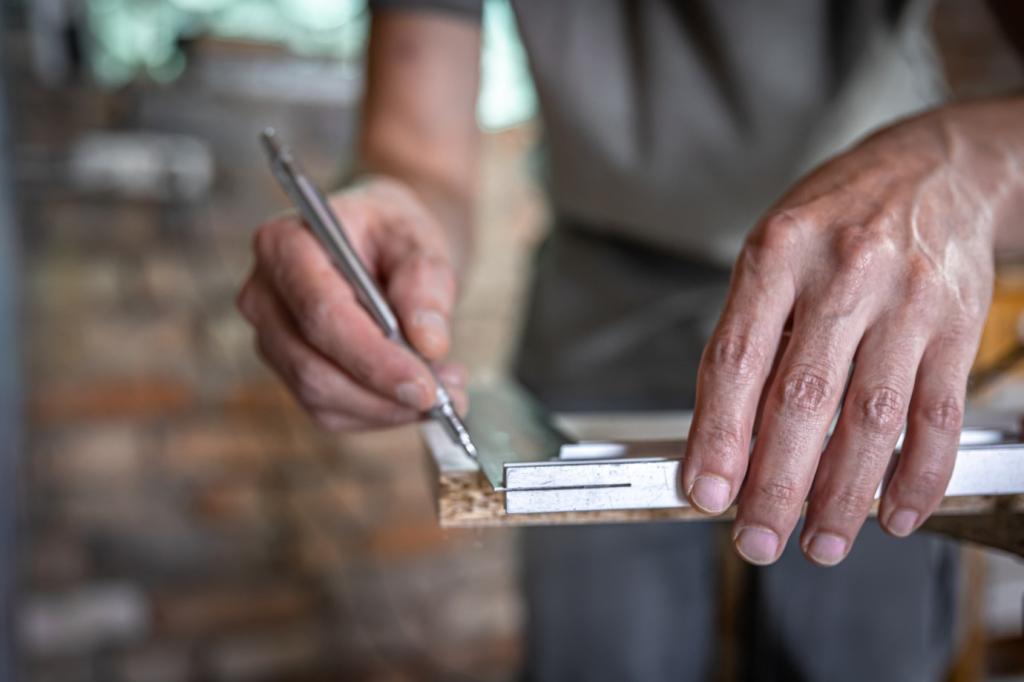
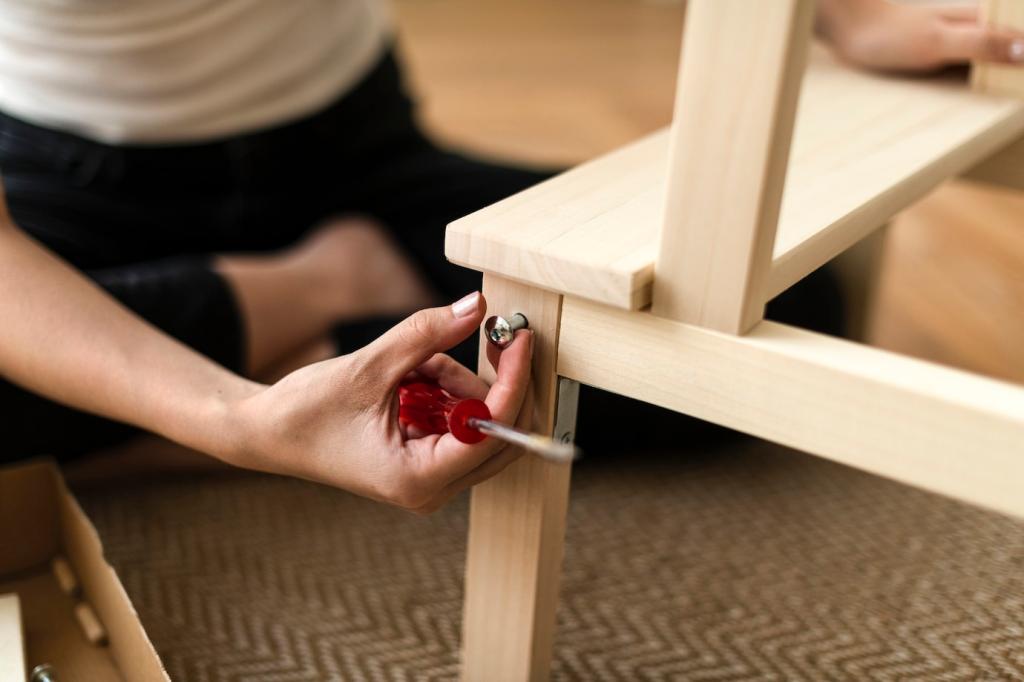
Wiggle tests, diagonal measurements, and chalk lines reveal which joints have failed. Loose tenons polish shiny; powdery dowel holes need sizing. Mark every piece before disassembly. If you have questions about a joint type, post a photo and we will help you identify it.
Another mistake is gluing without rehearsal. Dry fit with cauls and padded jaws, adding witness marks so parts return home. Check for square with measured diagonals. Keep wet rags ready, but avoid flooding end grain. What clamp arrangement saved your last restoration?
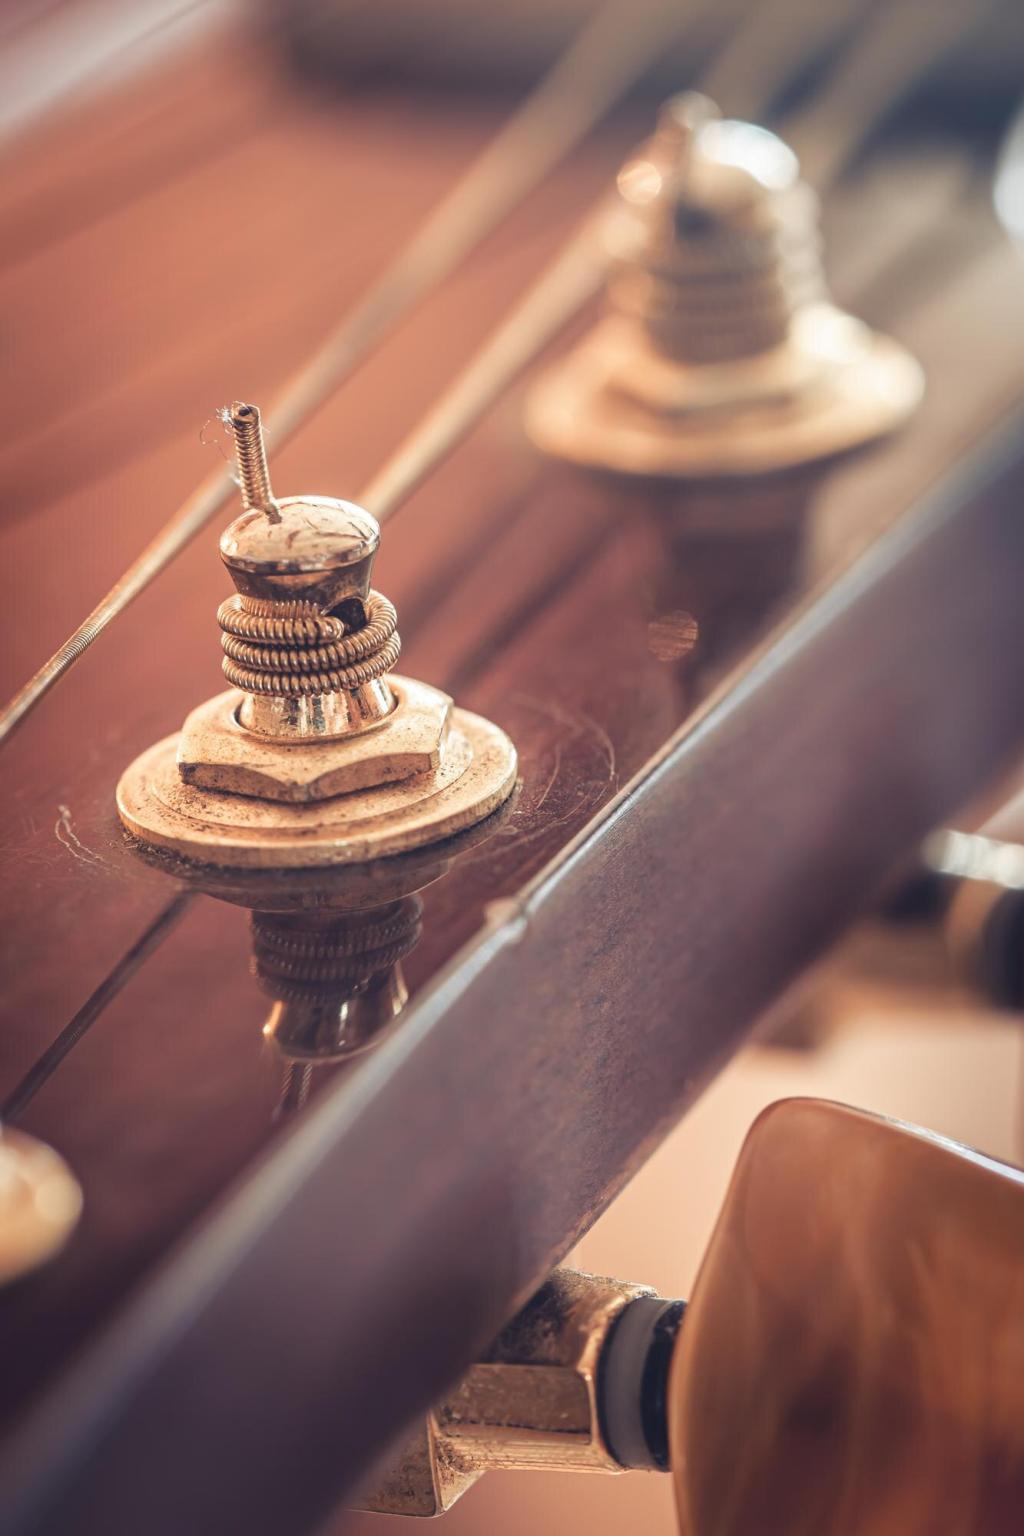
Authenticity Matters: Hardware, Fasteners, and Fabric
Do not polish brass to a mirror unless it suits the era. Clean gently with mild acid, rinse, and wax to arrest tarnish. Retain slot-head screws and original thread pitch. Label hardware by location during disassembly. Share your best gentle-clean recipe below.
Authenticity Matters: Hardware, Fasteners, and Fabric
Check architectural salvage, reputable repro suppliers, and donor pieces. Match hole spacing, backplate outlines, and escutcheon profiles. Avoid bright zinc on early pieces; black oxide or aged brass often feels right. Post a photo of your hardware mystery and we will help identify it.
Respect the Clock: Cure vs. Dry
“Dry to touch” is not cured. Oil finishes can need days; varnishes may need a week between rub-outs. Fingerprints and witness lines betray rush jobs. Track temperature and humidity. If your space varies wildly, consider a curing tent. What schedule keeps you honest?
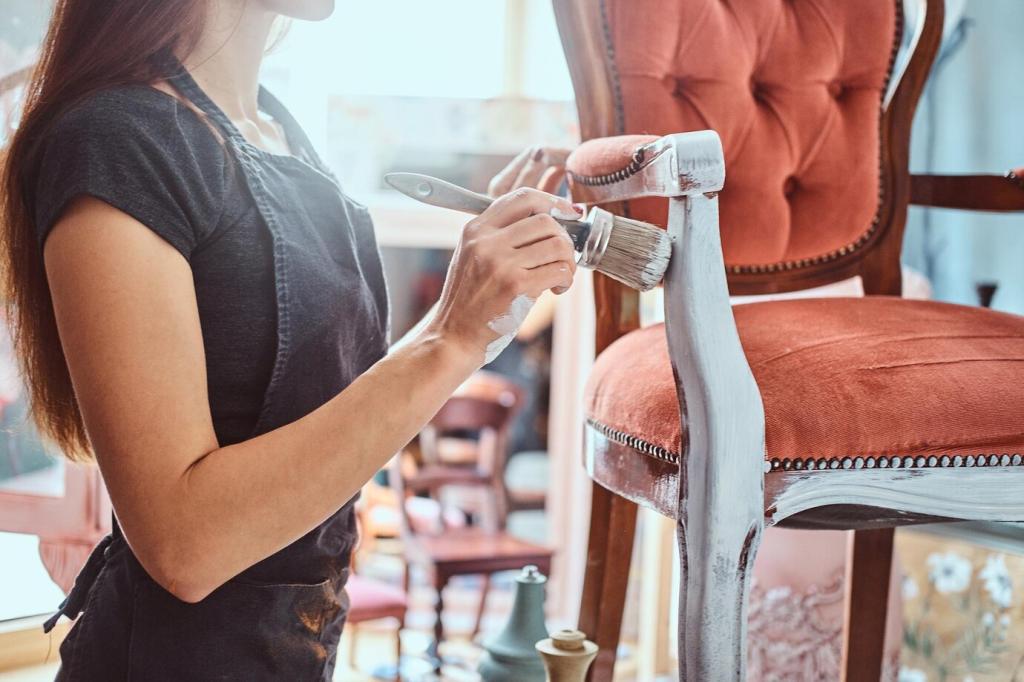
Sheen Tells a Story: Satin Over Gloss for Age
High gloss can feel ahistorical on many vintage pieces. Build a soft glow with satin or semi-gloss, then rub with gray pads and paste wax for a hand-rubbed look. Aim for depth, not glare. Share examples where a subtle sheen transformed a restoration.
Compatibility Tests: Shellac, Oil, Lacquer, and Waterbornes
Silicone and old polishes cause fish-eyes. Use a dewaxed shellac barrier coat to improve adhesion and even color. Always test in a hidden spot for cratering, lifting, or blush before committing. What compatibility headaches have you met, and how did you solve them?
Before-After Photos and Notes Save Regrets
Photograph every stage, tag hardware in bags, and sketch assemblies. Record products used and dates. This habit prevents mismatches and helps troubleshoot later. Share a short restoration diary entry in the comments to inspire another restorer today.
Respect Maker’s Marks, Labels, and Stickers
Mask off paper labels before cleaning, and never sand through a branded mark. A faint stamp can be worth more than a flawless surface. If unsure, pause and ask the community for preservation advice before proceeding.
Engage With Community: Ask, Share, Learn
Post your questions, celebrate wins, and admit mistakes—someone else has been there. Subscribe for checklists, finish calculators, and deep dives into period styles. Your participation keeps knowledge alive and protects more furniture from well-meaning but avoidable errors.